
If you’re looking for a delicious way to satisfy your sweet tooth while keeping your nutrition goals on track, this recipe for homemade caramel apples is here to make your day. With fresh Granny Smith apples and a rich, creamy caramel sauce made from simple ingredients, you can enjoy a treat that feels indulgent without the guilt. This simple step-by-step guide will help you create caramel apples that are not only tasty but also packed with flavor, ensuring that you never have to compromise on taste while achieving your protein goals.
Why You’ll Love This Recipe
- Easy to Make: With straightforward instructions and common ingredients, you can whip these up quickly without any culinary expertise.
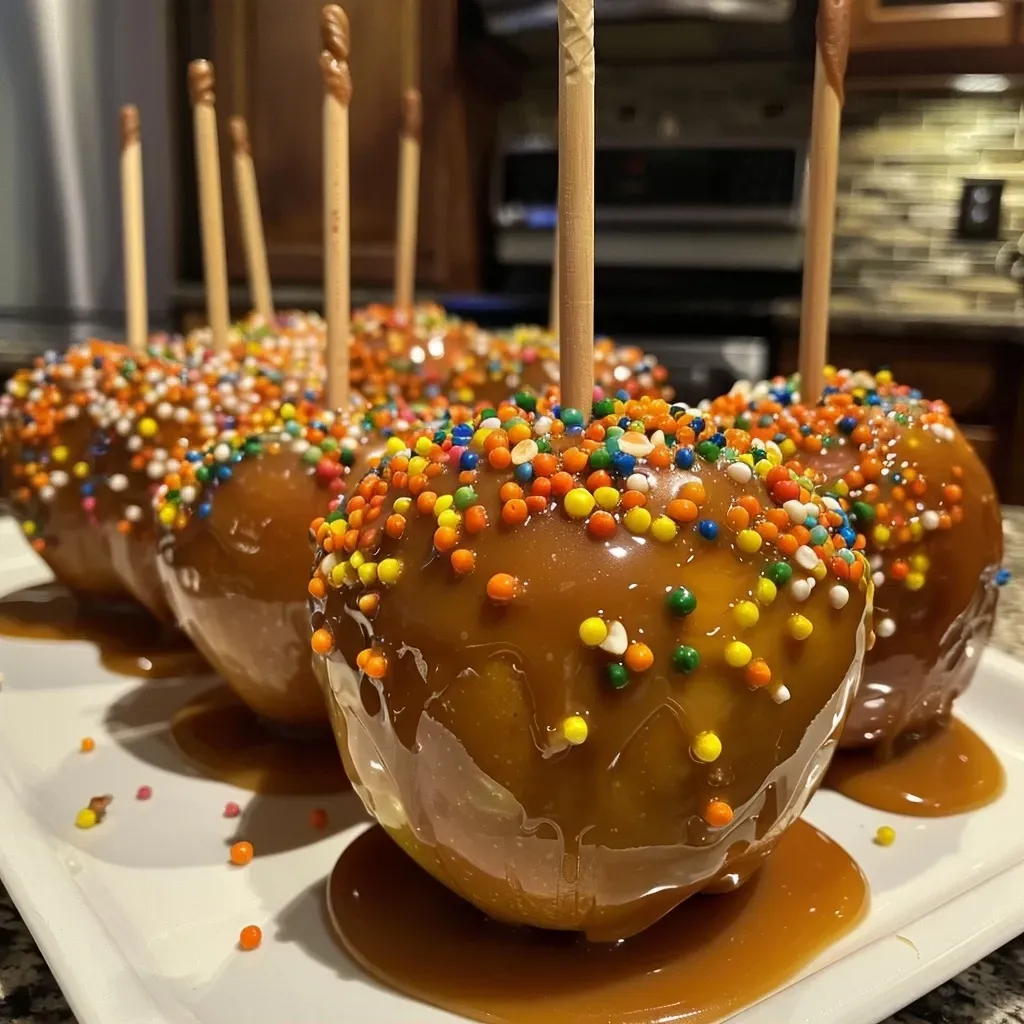
- Customizable Toppings: Choose from a variety of toppings like crushed nuts, melted chocolate, or sprinkles to make each apple uniquely yours.
- Perfect for Any Occasion: Whether it’s a fall gathering or a festive celebration, these caramel apples are sure to impress.
- Healthy Indulgence: Using fresh apples and a homemade caramel sauce means you control the ingredients, making these a healthier alternative to store-bought sweets.
- Great for Sharing: These apples make for an eye-catching dessert that’s perfect for parties, kids’ activities, or family gatherings.
Ingredients Breakdown
To make your caramel apples, gather the following ingredients:
- 1/2 cup salted butter (1 stick): This forms the base of your caramel, adding richness and flavor.
- 2 cups granulated sugar: Sweetness is essential; this will help create that luscious caramel texture.
- 1 cup light corn syrup: Adds smoothness and prevents crystallization, keeping your caramel creamy.
- 14 oz can evaporated milk (warmed): Helps to achieve the right consistency for your caramel.
- 1 teaspoon vanilla extract: Enhances the flavor profile of the caramel.
- 10-12 small/medium Granny Smith apples: Their tartness balances the sweetness of the caramel perfectly.
- 10-12 craft sticks: Essential for dipping and enjoying your apples.
- Parchment paper: For easy cleanup and to prevent the apples from sticking.
Pro Tips for Perfect Caramel Apples
- Choose the Right Apples: Granny Smith apples are ideal due to their tartness, but feel free to experiment with other varieties like Honeycrisp or Fuji for a sweeter flavor.
- Prep Your Apples: Wash and dry the apples thoroughly to remove any wax, which helps the caramel stick better.
- Temperature Matters: Always let your caramel cool to about 200°F before dipping to ensure an even coating.
- Use a Candy Thermometer: This ensures your caramel reaches the perfect consistency between 235°F and 240°F.
- Chill Before Dipping: Keeping your apples in the refrigerator helps the caramel set faster once dipped.
- Be Mindful of Toppings: If using heavy toppings, consider adding them while the caramel is still warm to ensure they stick.
- Store Properly: Place finished apples in the refrigerator to maintain freshness and prevent the caramel from becoming sticky.
- Experiment with Flavors: Add spices like cinnamon or nutmeg to the caramel for a seasonal twist.
- Have Fun! Get creative with your toppings and presentation—this is your chance to express your culinary flair!
Common Mistakes and Troubleshooting
Even seasoned cooks can face challenges. Here are some common mistakes to avoid:

★ Recommended Kitchen Tool
5-Speed Electric Hand Mixer
Make this recipe even easier with a quality 5-Speed Electric Hand Mixer — a must-have kitchen staple!
- Caramel Too Hard: If your caramel sets too hard, it may have been cooked at too high a temperature. Keep an eye on your candy thermometer next time.
- Caramel Too Runny: If it doesn’t set properly, it may not have cooked long enough. Ensure it reaches the right temperature.
- Sticky Caramel: If your caramel is too sticky after cooling, try adding a little more corn syrup on your next attempt.
- Poorly Coated Apples: Make sure your apples are thoroughly dried and the caramel is at the right temperature for dipping.
Variations to Try
Here are some variations to keep your caramel apple game strong:
- Chocolate Drizzle: After the caramel sets, drizzle melted chocolate over the apples for an extra layer of flavor.
- Nutty Delight: Roll your dipped apples in crushed nuts like pecans or almonds for a crunchy texture.
- Cookie Crumble: Coat the caramel with crushed cookies, such as Oreos or graham crackers, for a fun twist.
- Spicy Kick: Add a sprinkle of cayenne pepper or chili powder to your caramel for a unique flavor contrast.
Storage and Make-Ahead Instructions
To keep your caramel apples fresh:
- Refrigerate: Store finished apples in an airtight container in the refrigerator for up to two weeks.
- Make Ahead: You can prepare the caramel in advance and store it in the fridge. Just reheat gently before dipping apples.
- Freezing: While not ideal, you can freeze dipped apples. Just be sure to wrap them tightly to prevent freezer burn.
Comprehensive FAQ
- How long do caramel apples last? Properly stored, they can last up to two weeks in the refrigerator.
- Can I use other types of apples? Yes! While Granny Smith is ideal, other varieties like Honeycrisp or Fuji can also work well.
- What’s the best way to remove wax from apples? Rinse them in very hot water and scrub with a paper towel to remove the wax coating.
- Can I make caramel apples without a candy thermometer? While it’s not recommended, you can test the caramel by dropping a small amount in cold water to see if it forms a soft ball.
- What toppings can I use? You can use crushed nuts, sprinkles, chocolate, or even dried fruit for a fun twist.
- How do I prevent the caramel from sticking? Use parchment paper to line your baking sheet and refrigerate the apples to help set the caramel.
- Can I make these vegan? Substitute the butter with vegan margarine and use coconut cream instead of evaporated milk.
- What’s the best time of year to make caramel apples? While they are popular in the fall, they’re a delicious treat any time of year!
Nutritional Tips and Dietary Adaptations
For those looking to tailor the recipe further:
- Lower Sugar: Use sugar substitutes like erythritol or monk fruit to reduce the overall sugar content.
- High-Protein Additions: Drizzle with protein-infused chocolate or use protein powder in the caramel for a macros boost.
- Gluten-Free Options: All ingredients listed are gluten-free, making this recipe suitable for those with gluten sensitivities.
Equipment Recommendations
To make your caramel apples, you’ll need:
- Candy Thermometer: Essential for ensuring the caramel reaches the right temperature.
- Heavy-Bottomed Saucepan: A sturdy pan prevents burning and allows for even cooking.
- Parchment Paper: For easy cleanup and to keep apples from sticking.
- Wooden Skewers or Craft Sticks: For dipping and holding your apples.
Serving Suggestions
These caramel apples can be served in various fun ways:
- On a Stick: Classic and easy for parties and gatherings.
- Cut Up: Slice into wedges for a shareable dessert option.
- With Dips: Serve alongside chocolate, peanut butter, or yogurt dips for added flavor.
In conclusion, this recipe for homemade caramel apples is perfect for achieving your protein goals while satisfying your sweet cravings. With easy-to-follow instructions, customization options, and a wealth of tips, you can master this treat with confidence. Whether you’re preparing for a special occasion, a family gathering, or just craving something sweet, these caramel apples will not disappoint. Get ready to impress your friends and family with this delicious, guilt-free indulgence!
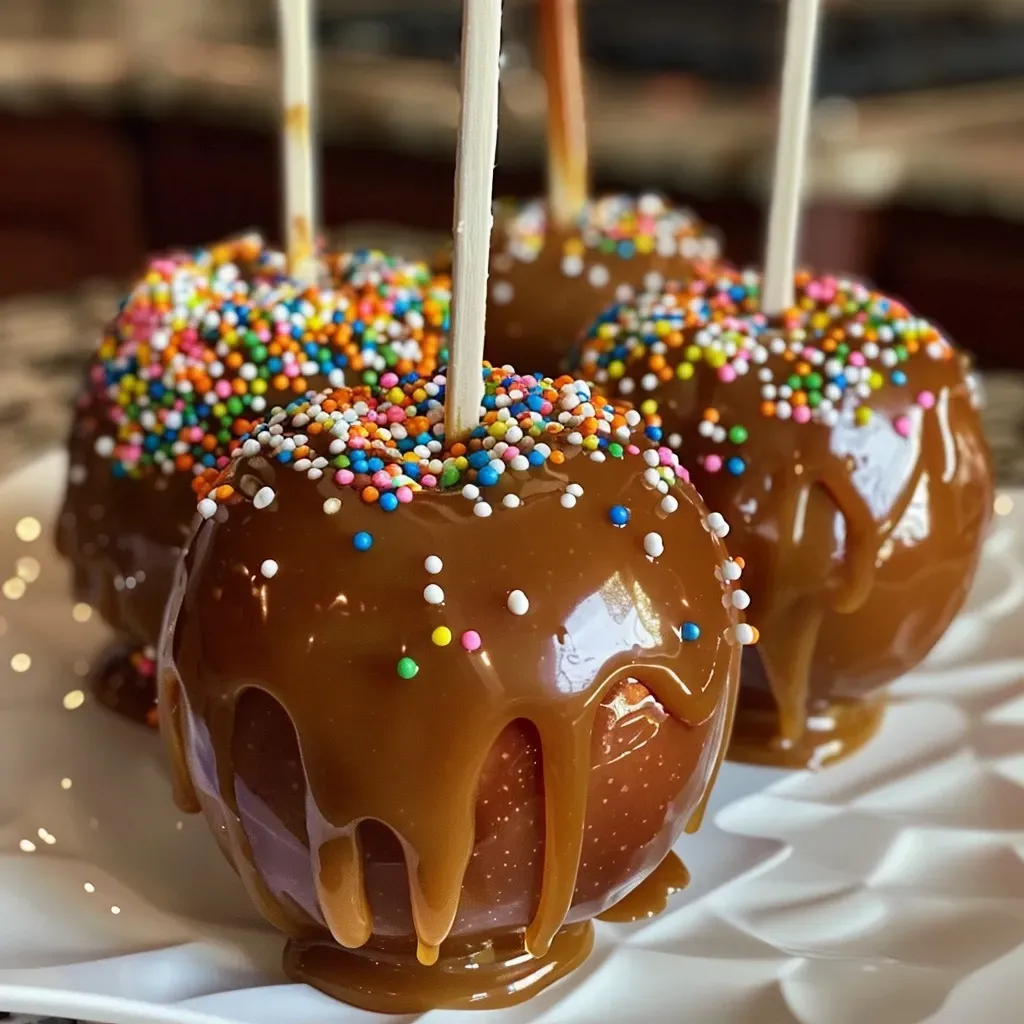
How to make Caramel Apples
Ingredients
Dipping and Topping
- 0.5 cup salted butter (1 stick)
- 2 cups granulated sugar
- 1 cup light corn syrup
- 14 oz can evaporated milk (warmed)
- 1 teaspoon vanilla extract
- 10-12 small/medium Granny Smith apples (well chilled)
- 10-12 pieces craft sticks
- parchment paper parchment paper
Instructions
- Remove apple stems, rinse, dry, and chill apples. Line a baking sheet with parchment.
- Combine butter, sugar, and corn syrup in a saucepan; cook over medium heat until boiling. Gradually add warmed evaporated milk, stirring constantly. Use a thermometer to reach 235-240°F, then remove from heat and stir in vanilla. Cool to 200°F.
- Dry apples, insert craft sticks, and prepare toppings. Dip apples into caramel, swirl to coat, and let excess drip off. Place on parchment-lined sheet.
- Add toppings if desired while caramel is hot. Chill apples to set the caramel.
- Repeat dipping and topping process with remaining apples. Store in refrigerator up to two weeks.