
If you’re looking for a dessert that satisfies your sweet tooth while keeping your fitness goals in check, then this creamy no-bake pecan pie is a game-changer. Packed with rich flavors and guilt-free ingredients, it’s the perfect way to indulge without compromise. This recipe is not only easy to prepare but also offers a delightful twist on the classic pecan pie, making it an ideal treat for holidays or any special occasion.
Why You’ll Love This Recipe
This pie is a standout for several reasons:
- Quick and Easy Preparation: With no baking required, this recipe saves you time in the kitchen while delivering maximum flavor.
- Protein-Packed Ingredients: Incorporating cream cheese and heavy whipping cream ensures you’re getting a satisfying dessert that fuels your body.
- Customizable Flavor: The recipe allows for various substitutions, making it suitable for different dietary needs and preferences.
- Perfect for Any Occasion: Whether it’s a holiday feast or a casual get-together, this pie fits right in.
- Great for Meal Prep: Make it ahead of time and store it in the fridge, ensuring you have a delicious dessert ready whenever you crave it.
Ingredients Breakdown
Here’s what you’ll need to make this rich and creamy no-bake pecan pie:

★ Recommended Kitchen Tool
Professional Chef Knife Set
Make this recipe even easier with a quality Professional Chef Knife Set — a must-have kitchen staple!
- 1 (9-inch) pie crust: Use a pre-baked crust for convenience or make your own graham cracker or shortbread crust.
- 1 cup heavy whipping cream: Provides the pie with a light and airy texture.
- 1/3 cup powdered sugar: Sweetens the whipped cream and ensures a smooth texture.
- 2 (8 oz) packages cream cheese, softened: The creamy base that holds the pie together.
- 1/2 cup light brown sugar: Adds a rich sweetness and depth of flavor.
- 1/4 cup pure maple syrup: Enhances the pie with a natural sweetness and a hint of caramel flavor.
- 1 1/2 cups pecans, finely chopped: The star ingredient that gives the pie its signature crunch.
- 1/4 teaspoon salt: Balances the sweetness and enhances the overall flavor.
Substitutions and Variations
Not only is this pie easy to make, but it’s also versatile! Here are some substitutions and variations you can try:
- Gluten-Free Option: Use a gluten-free pie crust to accommodate dietary restrictions.
- Sweetener Alternatives: Swap out sugar for low-carb sweeteners like stevia or erythritol for a keto-friendly version.
- Dairy-Free Version: Replace cream cheese with a dairy-free alternative and use coconut cream for the whipped topping.
- Flavor Twists: Add a splash of vanilla extract or a pinch of cinnamon to the filling for extra flavor.
How to Make Creamy No-Bake Pecan Pie
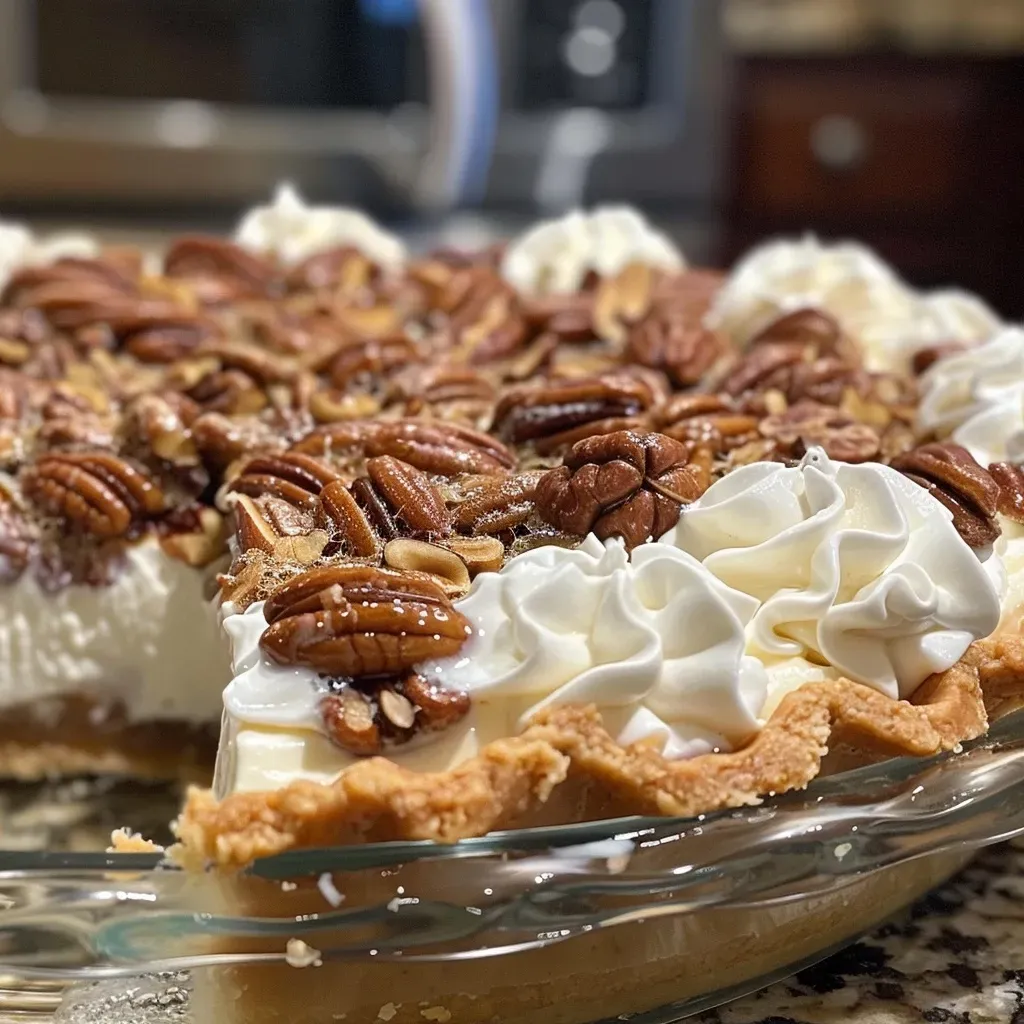
Step 1: Prepare the Crust
🔥 Blind bake the pie crust according to package directions and let it cool completely. (15–20 minutes)
Step 2: Whip the Cream
🥄 In a small bowl, whip the heavy cream and powdered sugar with an electric mixer until stiff peaks form. (5 minutes)
Step 3: Mix the Filling
🍯 In a large bowl, beat together the cream cheese, brown sugar, maple syrup, and salt until smooth and creamy. (5 minutes)
Step 4: Combine and Fold
🍦 Gently fold the whipped cream into the cream cheese mixture, then stir in 1 cup of chopped pecans. (3 minutes)
Step 5: Assemble the Pie
🥧 Spread the creamy filling evenly into the cooled pie crust and sprinkle with remaining pecans. (3 minutes)
Step 6: Chill and Serve
❄️ Chill in the refrigerator until firm, at least 2 hours or overnight for best results. (2+ hours)
Pro Tips for the Perfect Creamy No-Bake Pecan Pie
These expert insights will help you create a dessert that impresses every time:
- Room Temperature Ingredients: Ensure your cream cheese is at room temperature for a smoother consistency.
- Whip It Good: Whipping the cream until stiff peaks form is crucial for a light and fluffy filling.
- Chill Time: Allow the pie to chill longer for a firmer texture—overnight is best!
- Layering Flavors: For added depth, consider toasting your pecans lightly before adding them to the filling.
- Keep It Covered: Store the pie covered in the fridge to prevent it from absorbing any odors.
- Serve with Style: Top with additional whipped cream and pecans just before serving for a stunning presentation.
- Taste Test: Always taste your filling before assembling to adjust the sweetness as needed.
- Don’t Rush: Patience is key; let each layer set properly for the best results.
Common Mistakes and Troubleshooting
Even the best cooks run into issues. Here’s how to avoid common pitfalls:
- Runny Filling: Ensure your whipped cream is whipped to stiff peaks and the cream cheese is well blended.
- Soggy Crust: Blind bake your crust adequately to prevent it from becoming soggy from the filling.
- Too Sweet: Adjust the amount of powdered sugar and maple syrup to suit your taste preferences.
- Pecans Too Soft: Toasting pecans can enhance their flavor and maintain a delightful crunch.
Storage and Make-Ahead Instructions
This pie can be made ahead of time and stored in the fridge for up to 4 days. Here’s how:
- Storage: Keep it covered to maintain freshness and prevent any absorption of odors.
- Make-Ahead: Prepare the pie up to 2 days in advance for optimal convenience.
FAQs About No-Bake Pecan Pie
Here are some common questions and answers about this delightful dessert:
- Can I freeze this pie? Yes, but the texture may change. It’s best enjoyed fresh.
- How long does it take to set? Ideally, let it chill for at least 2 hours, but overnight is recommended.
- What can I serve with pecan pie? Pair it with a scoop of vanilla ice cream or a dollop of whipped cream.
- Is this pie gluten-free? If you use a gluten-free crust, then yes!
- Can I use different nuts? Absolutely! Try walnuts or almonds for a unique twist.
- Is this pie suitable for vegans? With proper substitutions, it can be made vegan-friendly.
- How do I know when it’s done? The filling should be firm to the touch but still slightly wobbly when you jiggle the pie.
- What’s the best way to slice it? Use a warm knife to cut through the creamy filling easily.
Nutritional Tips and Dietary Adaptations
This creamy no-bake pecan pie can be adapted to suit various dietary needs:
- Low-Carb Version: Replace sugars with low-carb sweeteners and use a nut-based crust.
- Dairy-Free Adaptation: Use coconut cream and dairy-free cream cheese alternatives.
- High-Protein Option: Incorporate protein powder into the filling for an extra boost.
Equipment Recommendations
Here’s what you’ll need to make this recipe a success:
- Electric Mixer: Essential for whipping cream and blending the filling smoothly.
- 9-inch Pie Dish: A standard size for this recipe, ensuring even baking and presentation.
- Mixing Bowls: Have a few different sizes to keep your ingredients organized.
Serving Suggestions
Make your pecan pie even more delightful with these serving ideas:
- Garnish with Whipped Cream: A dollop of whipped cream on top adds a beautiful finishing touch.
- Serve with Ice Cream: Pair the pie with vanilla or caramel ice cream for a decadent dessert experience.
- Add Fresh Fruit: Berries or sliced bananas can balance the richness of the pie.
In conclusion, this creamy no-bake pecan pie is not just a dessert; it’s a celebration of flavors and textures that aligns with your fitness goals. With simple ingredients, minimal prep time, and the ability to customize, it’s a recipe you’ll return to again and again. So roll up your sleeves, gather your ingredients, and make this pie your new go-to treat!
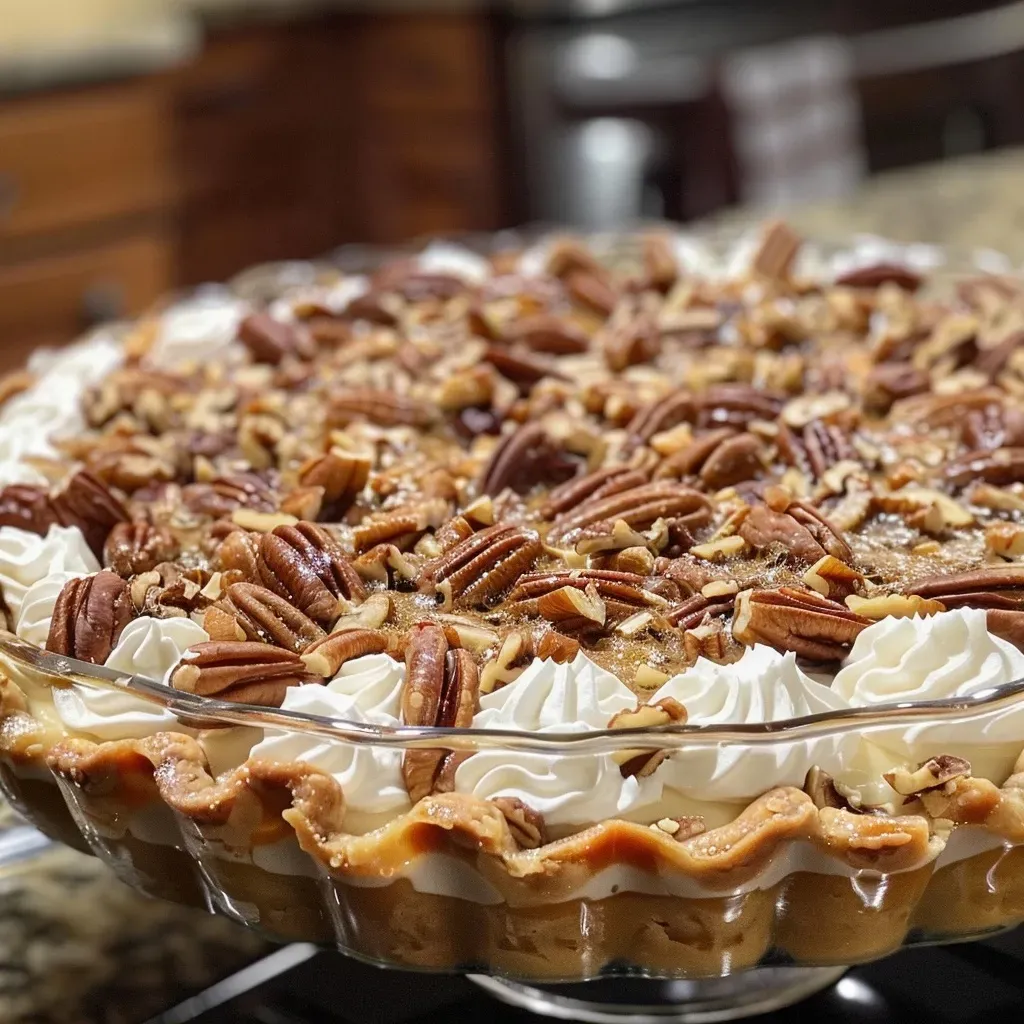
Creamy No-Bake Pecan Pie
Ingredients
Pie Crust
- 1 piece 9-inch unbaked pie crust
Filling
- 1 cup heavy whipping cream
- 1/3 cup powdered sugar
- 2 oz cream cheese (softened)
- 1/2 cup light brown sugar
- 1/4 cup pure maple syrup
- 1.5 cups pecans, finely chopped
- 1/4 teaspoon salt
Instructions
- Blind bake the pie crust and let it cool.
- Whip the heavy cream and powdered sugar until stiff peaks form.
- Beat together cream cheese, brown sugar, maple syrup, and salt until smooth.
- Fold whipped cream into the cream cheese mixture and stir in chopped pecans.
- Spread filling into the crust, sprinkle with remaining pecans, and chill for at least 2 hours.