
Unleashing the Power of Bliss Balls: A Comprehensive Guide
Welcome to your ultimate guide on how to create energizing bliss balls that are not only vegan and gluten-free, but also scrumptiously delicious! If you’re looking for a quick snack that fuels your body without compromising on flavor, you’ve come to the right place. In this article, we’re diving deep into the world of bliss balls, exploring their benefits, ingredients, and variations. Let’s transform your snacking habits into something delightful and nutritious!
Why You’ll Love This Recipe
These bliss balls are more than just a snack; they’re a game changer in your dietary routine. Here are five compelling reasons why you’ll love making them:
- Nutritious Energy Boost: Packed with healthy fats, proteins, and fiber, bliss balls provide sustained energy, making them ideal for a pre- or post-workout snack.
- Quick and Easy: With minimal ingredients and no baking required, these energy bites can be whipped up in less than 30 minutes.
- Customizable Flavors: From chocolate to fruity variations, you can easily modify the recipe to suit your taste preferences.
- Meal Prep Friendly: These bliss balls store well in the fridge for up to a week, making them a perfect grab-and-go option for busy days.
- Kid-Friendly Treat: With their sweet, satisfying flavor, these bliss balls are a hit among kids, making healthy snacking easier for parents.
Ingredient Breakdown: What You Need
To make these delicious bliss balls, you’ll need the following ingredients:

★ Recommended Kitchen Tool
Bamboo Tofu Press
Make this recipe even easier with a quality Bamboo Tofu Press — a must-have kitchen staple!
- 1 cup dates, pitted: Provides natural sweetness and a chewy texture.
- 1 cup almond flour: Adds a nutty flavor and healthy fats.
- 1/2 cup cocoa powder: For that rich chocolatey taste.
- 1/4 cup maple syrup: A natural sweetener that enhances flavor.
- 1/4 cup coconut oil, melted: Contributes healthy fats and helps bind the mixture.
- 1/2 cup shredded coconut: Adds texture and a tropical touch.
- 1/2 cup chopped nuts: For crunch and additional protein.
### Substitution Options
If you’re missing an ingredient or need to cater to dietary restrictions, here are some alternatives:
- Dates: You can use dried figs or prunes as a substitute, just ensure they’re soft for easy blending.
- Almond Flour: Swap with oat flour, or for nut-free options, use sunflower seed flour.
- Cocoa Powder: Carob powder is an excellent alternative if you’re avoiding chocolate.
- Maple Syrup: Honey or agave syrup can be used to achieve similar sweetness.
- Coconut Oil: Any neutral oil like avocado or canola oil will work, but coconut oil adds a unique flavor.
Pro Tips for Perfect Bliss Balls
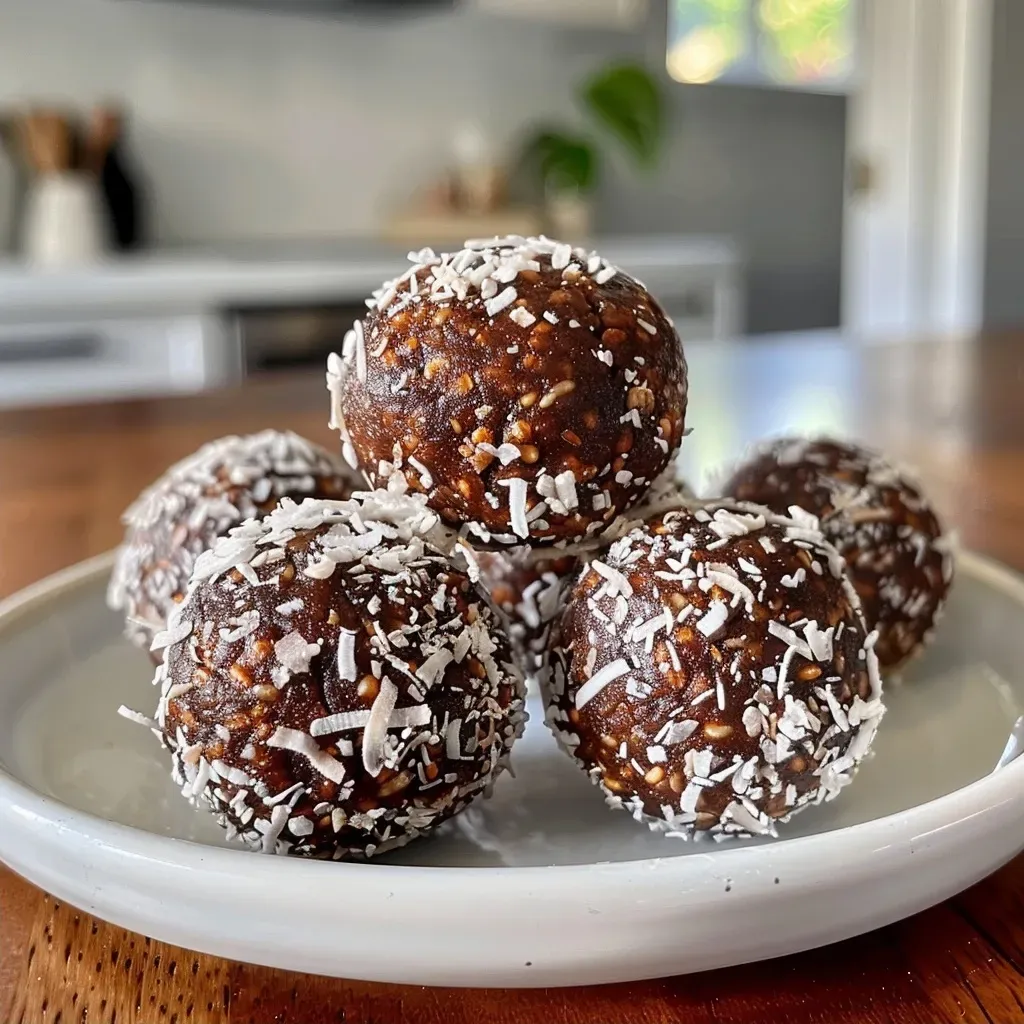
Mastering the art of bliss balls is all about technique. Here are some expert insights:
- Use Fresh Ingredients: Make sure your dates are fresh and soft; this ensures a smooth blend.
- Blend in Stages: Start by blending the dates alone first, then add dry ingredients to avoid clumping.
- Chill Before Serving: Refrigerate the balls for at least 30 minutes to firm them up for easier handling.
- Experiment with Textures: Adjust the ratio of dry to wet ingredients to find your preferred consistency.
- Don’t Overprocess: Leave some chunks of nuts for added texture and a delightful crunch.
- Try Different Coatings: Roll the balls in cocoa powder, crushed nuts, or sesame seeds for an extra layer of flavor.
- Keep a Consistent Size: Use a small ice cream scoop for uniformity in size, which helps with even chilling.
- Label & Date: If you’re meal prepping, label your storage containers with the date to keep track of freshness.
Common Mistakes and Troubleshooting
Even the best cooks encounter hiccups. Here are common mistakes to avoid and how to fix them:
- Too Dry? If your mixture is too crumbly, add a splash of water or more maple syrup to achieve the right consistency.
- Too Sticky? If the mixture sticks to your hands, slightly wet your hands while rolling the balls.
- Not Sweet Enough? Adjust the sweetness by adding a bit more maple syrup or a sprinkle of stevia.
- Not Holding Together? Ensure you’ve blended long enough; the mixture needs to be well combined to stick.
Variations on Bliss Balls
Get creative with these bliss ball variations to keep your snacks exciting:
- Peanut Butter Bliss Balls: Replace half of the coconut oil with natural peanut butter for a nutty twist.
- Berry Bliss Balls: Incorporate dried cranberries or blueberries for a fruity flavor.
- Matcha Bliss Balls: Add a teaspoon of matcha powder for a green tea infusion.
- Spiced Pumpkin Bliss Balls: Mix in pumpkin puree and pumpkin spice for a seasonal treat.
Storage and Make-Ahead Instructions
These bliss balls are great for meal prep. Here’s how to store them:
- Refrigeration: Store in an airtight container in the fridge for up to one week.
- Freezing: Freeze the balls in a single layer on a baking sheet, then transfer to a ziplock bag for up to three months.
- Thawing: To enjoy, simply take them out of the freezer and let them sit at room temperature for about 15-20 minutes.
Comprehensive FAQ
Got questions? Here are the answers to common queries about bliss balls:
- Can I make these without dates? Absolutely! Use other dried fruits like figs or medjool dates as alternatives.
- Are they gluten-free? Yes, all the ingredients are gluten-free, making them safe for those with gluten sensitivities.
- How do I know when they’re done? Once your bliss balls are firm to the touch after chilling, they’re ready to enjoy.
- Can I add protein powder? Yes! Feel free to mix in your favorite protein powder for an added boost.
- Are these suitable for kids? Definitely! They’re a healthy snack option that kids will love.
- How can I enhance the flavor? Consider adding spices like cinnamon or nutmeg for an extra flavor dimension.
- Can I make them nut-free? Yes, just replace almond flour with sunflower seed flour and omit any nuts.
- What’s the best way to serve them? Bliss balls can be enjoyed on their own or paired with a smoothie for a balanced snack.
Nutrition Tips and Dietary Adaptations
Keeping your nutritional goals in check is essential. Here are some tips:
- Protein Boost: Add a scoop of your favorite protein powder to the mixture for enhanced protein content.
- Low-Sugar Option: Use unsweetened cocoa powder and reduce the amount of maple syrup for lower sugar content.
- Fiber-Filled: Incorporate chia seeds or ground flaxseed to increase fiber and omega-3 fatty acids.
Essential Equipment Recommendations
Using the right tools can make a big difference in your bliss ball-making experience:
- Food Processor: A powerful food processor is key for blending the ingredients smoothly.
- Measuring Cups: Ensure accuracy in measurements for consistent results.
- Spatula: A silicone spatula is great for scraping down the sides of the processor.
- Baking Sheet: Use a baking sheet lined with parchment paper to chill your bliss balls.
Serving Suggestions
Enjoying your bliss balls is all about presentation and pairing:
- Snack Time: Pair with a piece of fruit for a balanced snack.
- Post-Workout: Enjoy with a protein shake for optimal recovery.
- Party Treat: Arrange on a platter with fresh fruits for a healthy party option.
In conclusion, making bliss balls is a straightforward and enjoyable process that promotes a healthy lifestyle without sacrificing flavor. With the tips, tricks, and variations outlined in this guide, you’re well-equipped to whip up these delightful snacks any time. So roll up your sleeves, gather your ingredients, and let’s get cooking. Trust me, you’ll be hitting your protein goals while enjoying every bite!
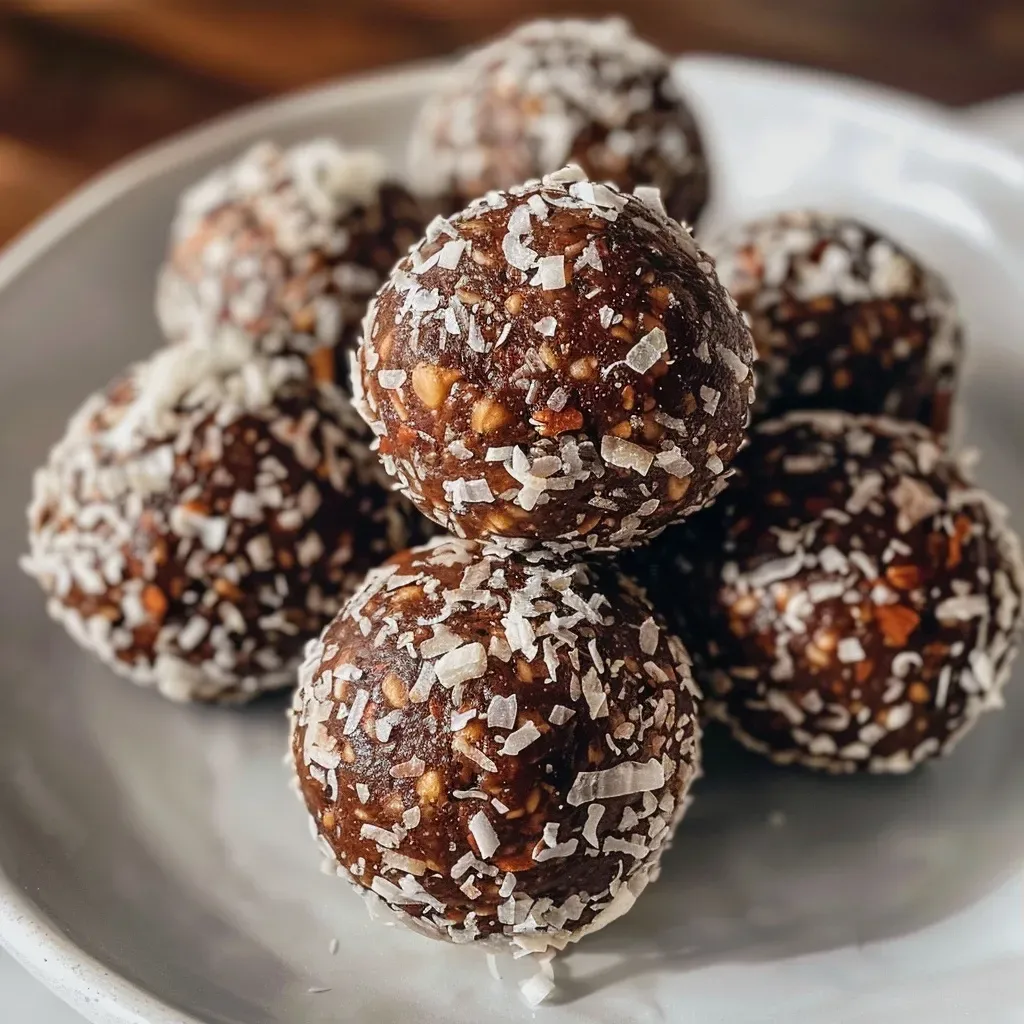
Bliss Balls Recipe Vegan Gluten Free: Irresistibly Delicious Treats
Ingredients
Dried Fruits
- 1 cup dates, pitted
Dry Ingredients
- 1 cup almond flour
- 1/2 cup cocoa powder
Sweeteners & Oils
- 1/4 cup maple syrup
- 1/4 cup coconut oil, melted
Add-ins
- 1/2 cup shredded coconut
- 1/2 cup chopped nuts
Instructions
-
Blend dates until smooth in a food processor.
-
Add almond flour, cocoa powder, maple syrup, and coconut oil. Blend until combined.
-
Stir in shredded coconut and chopped nuts.
-
Form mixture into small balls.
-
Refrigerate for at least 30 minutes before serving.

![['Close-up of a vibrant bowl of chickpea and sweet potato soup garnished with spinach.', 'Side view of a hearty soup featuring chickpeas, sweet potatoes, and fresh spinach in a bowl.', 'Rich and colorful chickpea and sweet potato soup, showing chunky ingredients and a smooth texture.', 'Delicious-looking chickpea and sweet potato soup with visible spinach, served in a rustic bowl.']](https://proteinrecipelab.com/wp-content/uploads/2026/07/high-protein-chickpea-and-sweet-potato-soup_1_U1-150x150.webp)
![['Juicy Balsamic Fig Air Fryer Turkey Breast garnished with herbs.', 'Close-up of a sliced turkey breast with a balsamic fig glaze.', 'Air-fried turkey breast drizzled with balsamic fig sauce and surrounded by vegetables.', 'Succulent turkey breast on a plate with a vibrant fig and balsamic dressing.']](https://proteinrecipelab.com/wp-content/uploads/2026/07/balsamic-fig-air-fryer-turkey_1_U1-150x150.webp)