
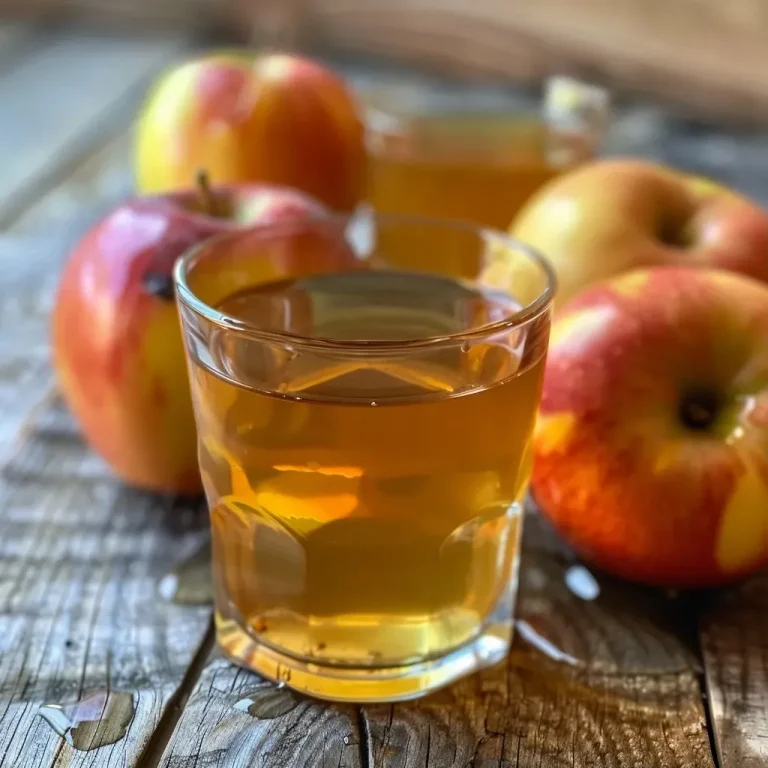
Unlock the Secrets of Homemade Apple Cider Vinegar
Making your own apple cider vinegar (ACV) at home is not just a culinary adventure; it’s a way to elevate your meals, boost your health, and save money. In this comprehensive guide, you’ll learn the step-by-step process to create flavorful and functional apple cider vinegar with just a few ingredients. Whether you’re a seasoned chef or a beginner in the kitchen, this article will empower you to craft your very own ACV, packed with flavor and beneficial properties.
Apple cider vinegar is renowned for its myriad health benefits and culinary versatility. From salad dressings to marinades, to natural remedies, the uses are nearly endless. Plus, making it at home means you control the quality of the ingredients, ensuring a product free from preservatives and artificial additives.
Why You’ll Love This Recipe
This homemade apple cider vinegar recipe is not just about fermentation; it’s about enhancing your culinary repertoire and health. Here are five compelling reasons to dive into this project:

★ Recommended Kitchen Tool
Meal Prep Container Set
Make this recipe even easier with a quality Meal Prep Container Set — a must-have kitchen staple!
- Cost-Effective: Save money compared to store-bought options by using leftover apple scraps or inexpensive apples.
- Health Benefits: ACV is known for aiding digestion, supporting weight loss, and having antimicrobial properties.
- Flavorful Boost: Homemade ACV has a fresher, more vibrant taste than commercial varieties, enhancing your dishes significantly.
- Customizable: Adjust the sweetness or acidity to suit your personal taste preferences.
- Eco-Friendly: Reduce food waste by using apple cores and peels that would otherwise be discarded.
Ingredients Breakdown
This simple recipe requires just three main ingredients:
- Apples: Use any variety of apples—sweet, tart, or a mix. You can also utilize apple scraps like cores and peels.
- Water: Filtered water is preferred to avoid impurities that could affect fermentation.
- Sugar or Honey: While optional, adding about 1/4 cup of sugar or honey can speed up the fermentation process.
Step-by-Step Guide to Making Apple Cider Vinegar
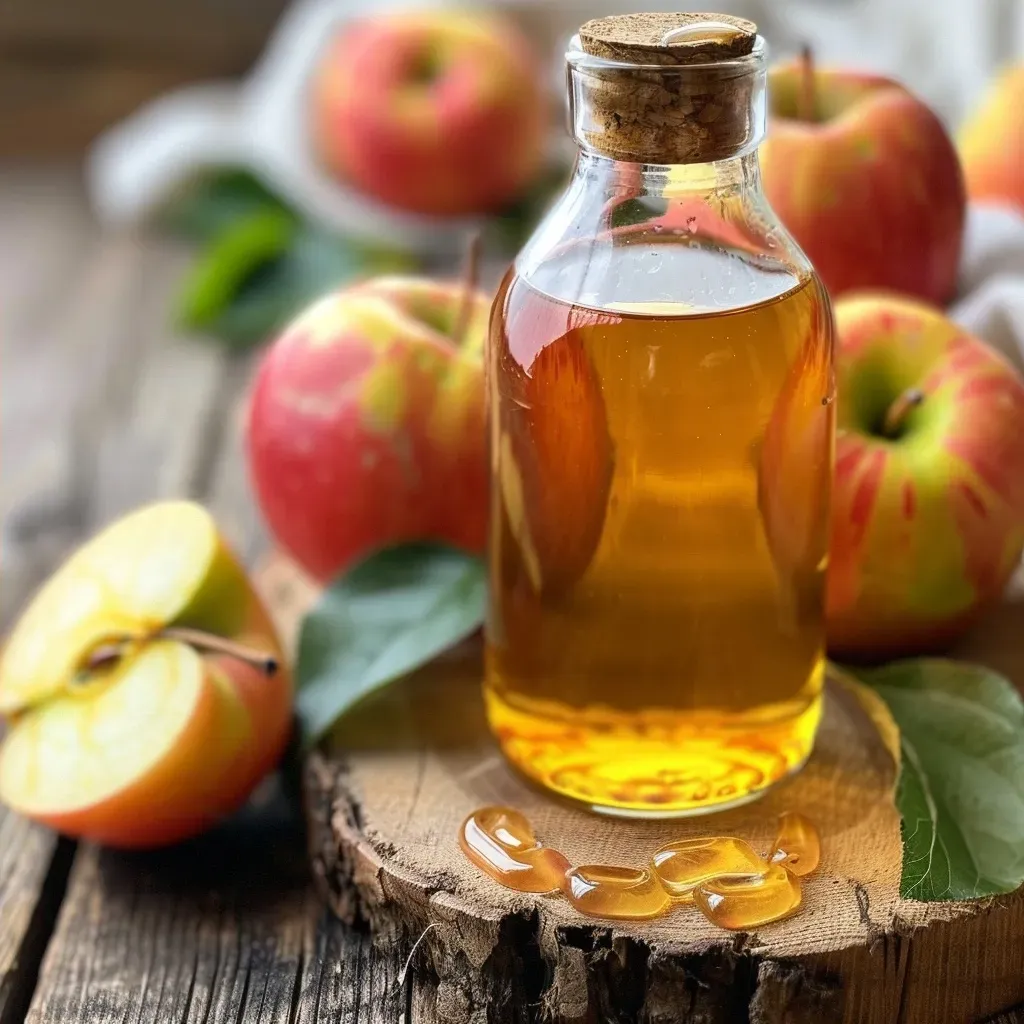
Follow these detailed steps to create your own apple cider vinegar:
- Chop Your Apples: Take 4-5 rinsed apples and chop them into roughly 1-2 inch pieces. If using scraps, gather about 1-1.5 cups (120-180 g) of cores and peels.
- Prepare Your Jar: Place the chopped apples in a sterilized 64 oz (~2 L) glass jar, filling it ¾ full. Pour cool, filtered water over the apples until they are submerged.
- Cover and Secure: Cover the jar with cheesecloth, secured with a rubber band. This allows for air circulation while keeping contaminants out.
- Fermentation Process: Store the jar in a warm, dark place (60-80 °F or 16-27 °C) for 3-4 weeks. Stir the mixture daily to encourage fermentation.
- Strain the Mixture: Once it smells like vinegar, strain out the solids using cheesecloth or a coffee filter.
- Second Fermentation: Return the liquid to the jar and allow it to ferment for another 2 weeks. The “mother” will form during this time, which is a natural byproduct of fermentation.
- Store Your Vinegar: After 2 weeks, strain out the mother and pour the finished vinegar into a sterilized jar. Seal and store in the refrigerator, where it can last up to a year.
Pro Tips for Perfecting Your Apple Cider Vinegar
Here are some expert insights to ensure your vinegar-making process goes smoothly:
- Use Organic Apples: If possible, choose organic apples to avoid pesticides that could interfere with fermentation.
- Maintain Cleanliness: Ensure all equipment, including jars and utensils, are sterilized to prevent unwanted bacteria.
- Monitor Temperature: Keep the jar in a stable environment, avoiding fluctuations in temperature.
- Patience is Key: Fermentation times can vary based on conditions. Taste periodically to find the perfect flavor.
- Store Properly: Use dark-colored jars to protect the vinegar from light, which can degrade its quality.
- Experiment: Don’t hesitate to try different apple varieties or add spices like cinnamon or cloves for unique flavors.
- Keep Notes: Document your process, including measurements and fermentation times, to replicate your best batches.
- Use a Hydrometer: For precision, consider using a hydrometer to measure the specific gravity before and after fermentation.
Common Mistakes and Troubleshooting
Even seasoned cooks can encounter issues during fermentation. Here’s how to avoid common pitfalls:
- Problem: Vinegar smells off or has mold.
Solution: Ensure cleanliness and proper covering. If mold appears, remove it immediately. - Problem: Vinegar is too weak.
Solution: Extend the fermentation time to allow for more acidity development. - Problem: The mixture doesn’t ferment.
Solution: Ensure the jar is in a warm environment and that apples are fully submerged.
Variations to Try
Once you’ve mastered the basic recipe, explore these exciting variations:
- Spiced Apple Cider Vinegar: Add whole spices like cinnamon sticks, cloves, or star anise during fermentation for a cozy flavor.
- Herbal Infusion: Incorporate fresh herbs such as rosemary or thyme for a unique twist.
- Fruit-Infused Vinegar: Experiment with other fruits like pears or berries alongside apples for a different profile.
- Sweetened Vinegar: For a sweeter finish, add extra honey or sugar during the second fermentation.
Storage and Make-Ahead Instructions
Once your apple cider vinegar is ready, here’s how to store it:
- Storage: Store in a sealed jar in the refrigerator for up to a year. Keep it in a cool, dark place for optimal preservation.
- Make-Ahead: You can start the fermentation process well in advance, allowing you to have homemade vinegar ready for your culinary needs.
Comprehensive FAQ
Here are some frequently asked questions about making and using apple cider vinegar:
- Can I use any type of apple? Yes, any apple variety works, but a mix of sweet and tart apples yields the best flavor.
- How long does the fermentation process take? The initial fermentation takes 3-4 weeks, followed by an additional 2 weeks for flavor development.
- What if my vinegar has a cloudy appearance? This is normal and indicates the presence of the vinegar mother, which is beneficial.
- Is homemade vinegar safe to consume? Absolutely, as long as you follow proper sanitation and fermentation practices.
- Can I use vinegar for cleaning? Yes, homemade ACV can be used as an eco-friendly cleaner!
- What are some culinary uses for ACV? Use it in dressings, marinades, beverages, or as a natural preservative.
- Can I ferment with other fruits? Yes, feel free to experiment with other fruits and herbs for unique flavors.
- How can I tell when my vinegar is ready? It should have a strong, tangy smell and taste distinctly acidic.
Nutritional Tips and Dietary Adaptations
Apple cider vinegar is low in calories and can be a great addition to various diets:
- Low-Carb Diets: Incorporating ACV can help with blood sugar regulation.
- Paleo and Keto: Use it in dressings and marinades without adding unnecessary carbs.
- Vegan-Friendly: ACV is a plant-based product, making it suitable for vegan diets.
Equipment Recommendations
Here’s what you’ll need to make your homemade apple cider vinegar:
- Glass Jar: A large, sterilized glass jar (64 oz) is ideal for fermentation.
- Cheesecloth: For covering the jar and allowing air circulation.
- Rubber Band: To secure the cheesecloth over the jar.
- Measuring Cup: For measuring water and sugar accurately.
Serving Suggestions
Here are some delicious ways to incorporate your homemade apple cider vinegar into your meals:
- Salad Dressings: Mix with olive oil, mustard, and herbs for a zesty vinaigrette.
- Marinades: Use as a base for marinades to tenderize meats and add flavor.
- Drinks: Dilute in water with honey for a refreshing drink or add to cocktails.
- Pickling: Use as a pickling agent for vegetables for added flavor and preservation.
In conclusion, making your own apple cider vinegar is not just rewarding; it’s a practical way to enhance your kitchen skills, health, and sustainability practices. With this guide, you can confidently embark on your fermentation journey. Enjoy the process and the delicious results!
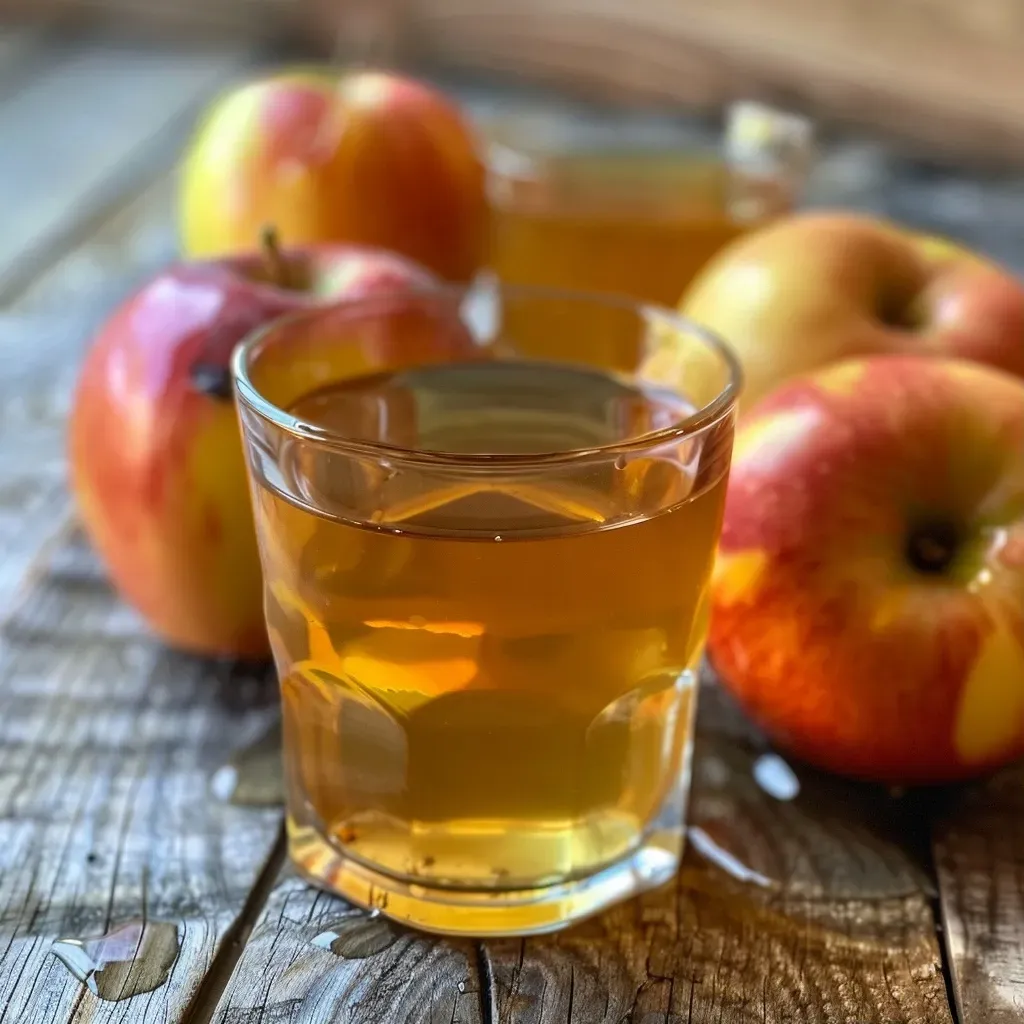
How to Make Apple Cider Vinegar at Home: Best Recipe
Ingredients
Main
- 4-5 pieces Apples (Rinsed and chopped into 1-2 inch pieces)
- Water cups Water (Filtered, enough to cover apples)
- Sugar or honey tablespoons Sugar or honey (Optional, for fermentation)
Instructions
- Chop apples into 1-2 inch pieces and place in a sterilized jar, filling ¾ full.
- Add apples to a sterilized jar, cover with filtered water, and weigh down with a smaller jar if needed.
- Cover the jar with cheesecloth secured with a rubber band and place in a warm, dark spot for 3-4 weeks, stirring daily.
- Strain out the apples once it smells like vinegar, discarding solids and scum, then return the liquid to the jar.
- Let the vinegar ferment for another 2 weeks, stirring every few days and observing the formation of the vinegar mother.
- Strain the vinegar, remove the mother if desired, and store in a sterilized jar in the refrigerator for up to 1 year.