
Unlock the Sweet Potential of Your Kitchen: Caramelized Cinnamon-Spiced Pears
If you’re looking for a quick, delicious way to elevate your snack game and hit your protein goals, look no further than caramelized cinnamon-spiced pears. This recipe takes less than 8 minutes and combines the natural sweetness of ripe pears with warm spices, making it a perfect addition to your meal prep rotation. Whether you enjoy them warm over yogurt, oatmeal, or as a stand-alone dessert, these caramelized delights are sure to impress while keeping your macros in check.
In this article, we’ll dive deep into the world of caramelized pears, exploring the best ingredients, expert tips, common mistakes, and variations to keep your meals exciting and nutritious. Ready to transform your kitchen experience? Let’s get started!
Why You’ll Love This Recipe
Caramelized cinnamon-spiced pears are not just another dessert; they come with a host of benefits that make them a must-try in your kitchen. Here are five reasons to fall in love with this recipe:
- Quick Preparation: Whip up this dish in just 8 minutes, making it perfect for busy weekdays or last-minute guests.
- Nutritious Ingredients: Pears are high in fiber and vitamins, providing health benefits without compromising on taste.
- Versatile Serving Options: These caramelized pears pair beautifully with yogurt, oatmeal, pancakes, or even as a topping on ice cream.
- Customizable Flavors: Adjust the sweetness or spice level to match your personal preference, making it a flexible dish for all tastes.
- Meal Prep Friendly: Store leftovers in the fridge for up to three days and enjoy them as a quick snack or breakfast addition.
Ingredient Breakdown
To create these delicious caramelized cinnamon-spiced pears, you’ll need the following ingredients. Let’s also explore some useful substitutions for each:
- 1 large ripe pear: Bosc or Bartlett varieties are ideal for their sweetness and texture. Peeling is optional.
- 1 tsp vegan butter, coconut oil, or neutral oil: This fat is essential for browning the pears and adding richness. Avocado oil is a great alternative.
- 2 tsp maple syrup or brown sugar: These sweeteners help achieve that irresistible caramelization. Use honey for a different flavor profile.
- 1/8 tsp ground cinnamon: Adds warmth and spice. You can also experiment with nutmeg or allspice for a twist.
- 2 tsp lemon juice: Brightens the flavors and balances the sweetness; lime juice is a viable substitute.
How to Make Caramelized Cinnamon-Spiced Pears
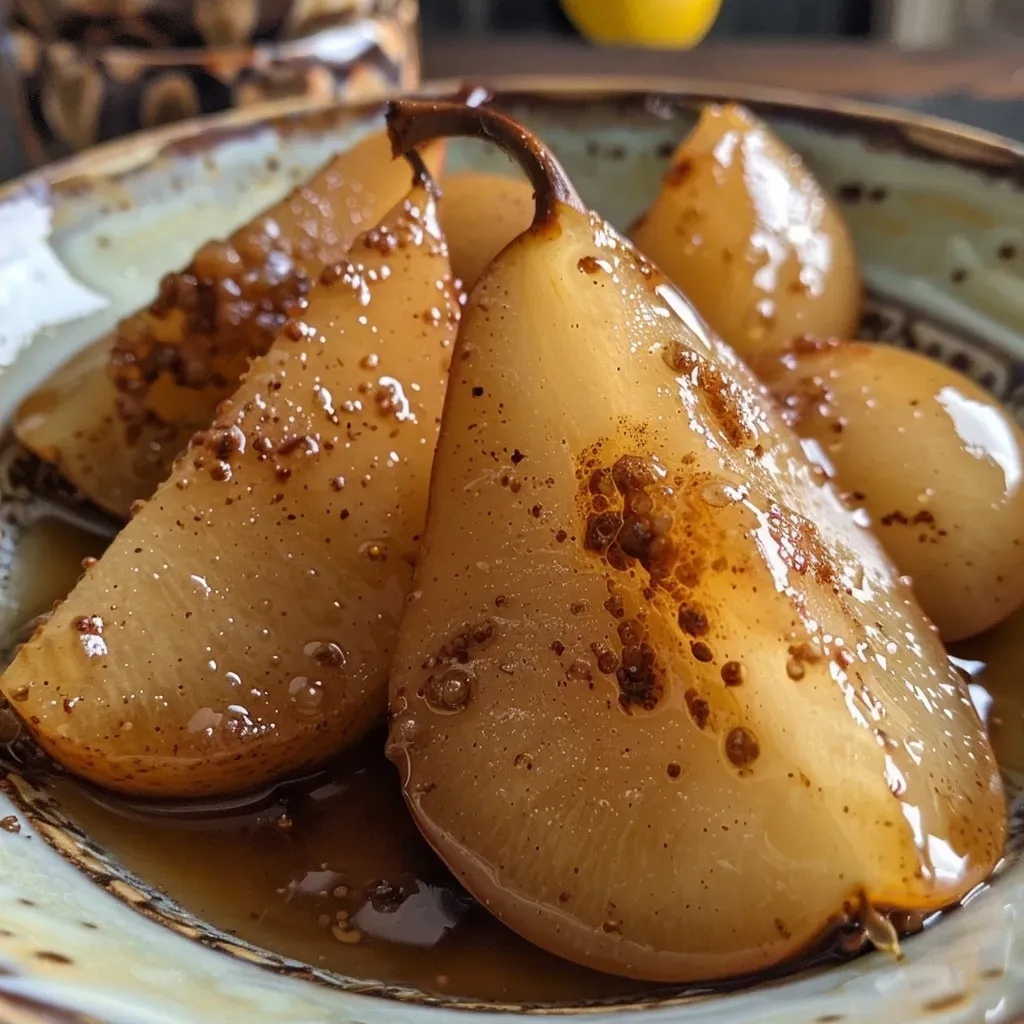
Follow these detailed steps to create caramelized pears that are tender, flavorful, and visually stunning:
- Quarter the pears and optionally peel them. We prefer leaving the skin on for added nutrition, but peeling makes them more tender. Remove the cores and stems, then cut each quarter into ~1/2-inch wedges.
- Heat a large rimmed skillet over medium heat. Add your chosen fat, swirling to coat the pan.
- Add the pears in a single layer, ensuring not to overcrowd the pan. Cover with a lid and cook for about 2 minutes until they begin to brown. Lower the heat slightly if browning too quickly.
- Remove the lid and add the brown sugar or maple syrup along with the cinnamon. Gently toss the pears to caramelize the other side. Allow them to cook uncovered for an additional 1-2 minutes, flipping occasionally for even caramelization.
- Once tender and slightly caramelized on the edges, add the lemon juice to deglaze the pan, stirring to incorporate all the flavors before removing from heat.
- Serve warm with your choice of yogurt, oatmeal, porridge, waffles, pancakes, or even ice cream! Leftover pears can be stored in the fridge for up to 3 days but are best enjoyed fresh.
Pro Tips for Perfect Caramelized Pears
Ready to take your caramelized pear game to the next level? Here are some expert insights:
- Choose Ripe Pears: Opt for pears that are firm yet slightly yielding when pressed. This ensures they caramelize beautifully without becoming mushy.
- Don’t Rush the Caramelization: Allow the pears to sit undisturbed in the pan for brief periods to achieve that golden-brown finish. Patience is key!
- Adjust Sweetness to Taste: If you prefer a less sweet dish, reduce the amount of maple syrup or brown sugar. You can always add more later.
- Experiment with Spices: Try adding a pinch of nutmeg or a dash of vanilla extract to elevate the flavor profile.
- Use a Non-Stick Pan: This helps prevent sticking and ensures even cooking, making the cleanup easier.
- Deglaze with Care: When adding lemon juice, be cautious not to splash hot oil. Stir gently to release the caramelized bits stuck to the pan.
- Presentation Matters: Serve the pears in a visually appealing way—arranging them neatly on a plate can enhance the dining experience.
- Pair with Protein: For a balanced meal, consider adding Greek yogurt or cottage cheese on the side for a protein boost.
Common Mistakes and Troubleshooting
A few pitfalls can derail your caramelized pear adventure. Here’s how to avoid them:
- Overcrowding the Pan: This prevents even cooking and caramelization. Make sure to use a large enough skillet.
- High Heat: Cooking on too high a flame can burn the sugar before the pears have a chance to soften. Keep it moderate.
- Not Using Enough Fat: Insufficient fat can lead to sticking. Use enough oil or butter to coat the pan.
- Ignoring Texture Preferences: If you dislike the skin’s texture, peel the pears for a smoother bite.
Variations on Caramelized Pears
Mix things up with these creative variations:
- Nutty Delight: Add chopped walnuts or pecans during the last minute of cooking for a crunchy texture.
- Spiced Up: Incorporate a pinch of cayenne pepper or ginger for a spicy kick that complements the sweetness.
- Maple Pecan Bliss: Use maple syrup and top with toasted pecans for a deliciously decadent version.
- Chocolate Drizzle: Finish with a drizzle of melted dark chocolate for an indulgent dessert experience.
Storage and Make-Ahead Instructions
Want to prepare ahead of time? Here’s how to store and reheat your caramelized pears:
- Storage: Keep leftovers in an airtight container in the fridge for up to 3 days. Reheat gently on the stove or in the microwave.
- Make-Ahead: You can prepare the pears ahead of time but wait to caramelize them until just before serving for the best texture.
Frequently Asked Questions (FAQs)
Here are some common questions about caramelized pears:
- Can I use other fruits?: Yes! Apples, peaches, or bananas can also be caramelized using the same method.
- Is this recipe vegan?: Absolutely! Just stick with vegan butter or oil, and you’re good to go.
- Can I freeze caramelized pears?: It is not recommended as the texture may change. Best enjoyed fresh or stored in the fridge.
- What can I substitute for maple syrup?: Honey or agave syrup are excellent alternatives for sweetness.
- Are these pears gluten-free?: Yes, this recipe is naturally gluten-free.
- How do I know when the pears are done?: They should be tender and slightly caramelized on the edges without being mushy.
- Can I make this recipe in advance?: You can prepare the ingredients in advance but cook them fresh for the best results.
- What’s the best way to serve them?: Serve warm over pancakes, yogurt, or simply enjoy them on their own!
Nutritional Tips and Dietary Adaptations
Here are some nutritional insights to consider:
- High Fiber: Pears are rich in dietary fiber, promoting digestive health and keeping you full longer.
- Low-Calorie Dessert: This recipe is a guilt-free way to indulge your sweet tooth without overloading on calories.
- Protein Boost: Pair with a protein source like Greek yogurt to create a balanced meal or snack.
- Low Sugar Option: Reduce the sweetener for a lower sugar alternative while still enjoying the caramelized flavor.
Equipment Recommendations
To achieve the best results, consider using the following kitchen tools:
- Non-stick Skillet: Ensures even cooking and easy cleanup.
- Spatula: A silicone spatula is gentle on non-stick surfaces and helps with flipping the pears.
- Measuring Spoons: For precise measurements when adding spices and sweeteners.
- Cutting Board and Knife: Essential for preparing the pears efficiently.
Serving Suggestions
These caramelized cinnamon-spiced pears shine in so many contexts. Here are a few serving ideas:
- Breakfast Boost: Serve them warm over oatmeal or pancakes for a delightful morning treat.
- Decadent Dessert: Top with a scoop of ice cream or whipped cream for a more indulgent dessert experience.
- Snack Time: Enjoy them straight from the fridge as a quick, healthy snack option.
- Salad Topping: Incorporate into salads for a sweet contrast with savory ingredients like goat cheese or nuts.
With this comprehensive guide, you’re well-equipped to make the most delicious caramelized cinnamon-spiced pears that not only satisfy your cravings but also meet your nutritional goals. Enjoy the process, experiment with variations, and remember: hitting your protein targets doesn’t have to mean sacrificing flavor. Happy cooking!
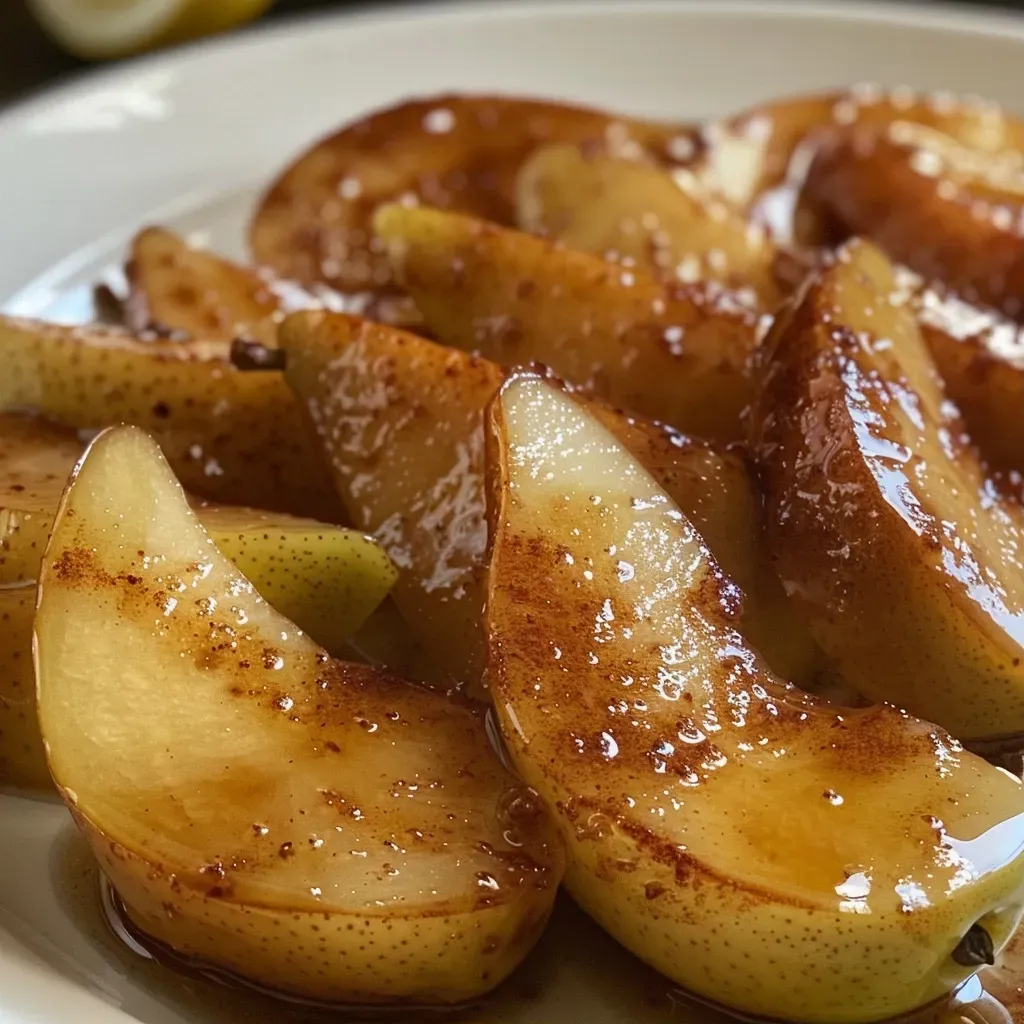
Caramelized Cinnamon-Spiced Pears (8 Minutes!)
Ingredients
Fruits
- 1 large ripe pear (peeling optional, organic preferred)
- 1 tsp vegan butter, coconut oil, or neutral oil (dairy butter works, too)
- 2 tsp maple syrup or brown sugar
- 1/8 tsp ground cinnamon
- 2 tsp lemon juice
Instructions
- Quarter the pear, remove cores, and cut into 1/2-inch wedges.
- Heat a skillet over medium heat, add oil or vegan butter, and swirl to coat.
- Add pears in a single layer, cover, and cook for 2 minutes until they begin to brown.
- Remove lid, add sweetener and cinnamon, toss to caramelize, and cook uncovered for 1-2 minutes.
- Deglaze with lemon juice, stir, and remove from heat.